Pressure-Proof Tips
Although neck reining is more common in Western riding disciplines, it’s a useful skill for English riders to learn as well. Since I frequently ride on trails, I taught my horse to neck rein so I could ride one-handed. This makes opening gates and clearing brush much easier and, if I’m being completely honest, suits my rather casual riding style!
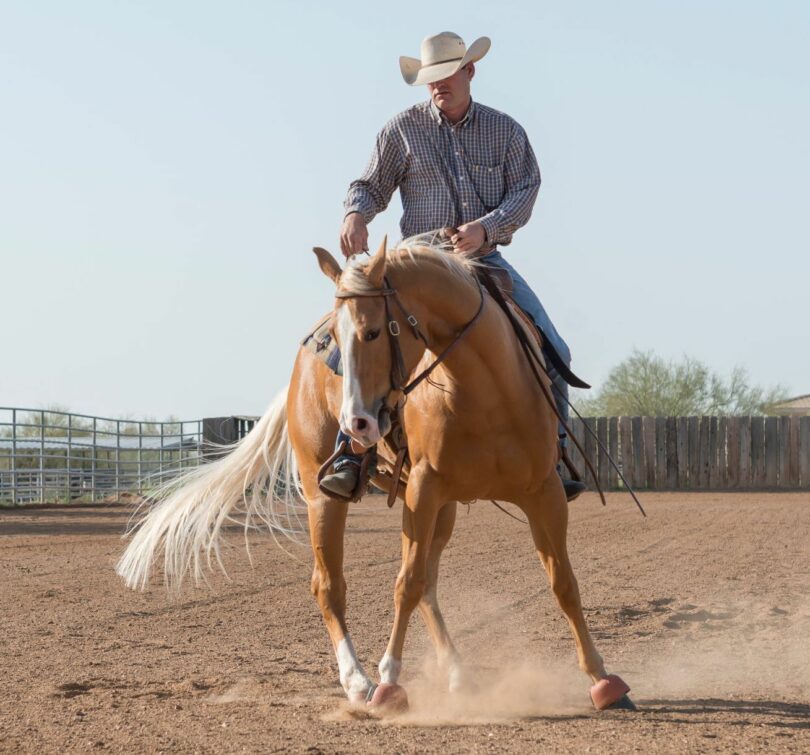
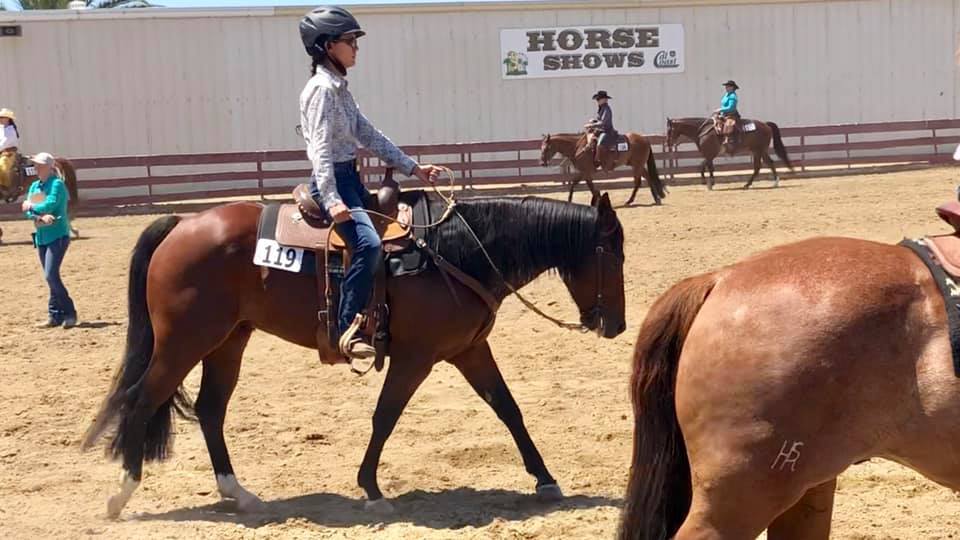
Neck reining is commonly found in Western-style riding. This form of steering uses the pressure of the rein on the horse’s neck to change direction instead of the more direct method of pulling on the bit in the direction you wish to travel.
Steering 101
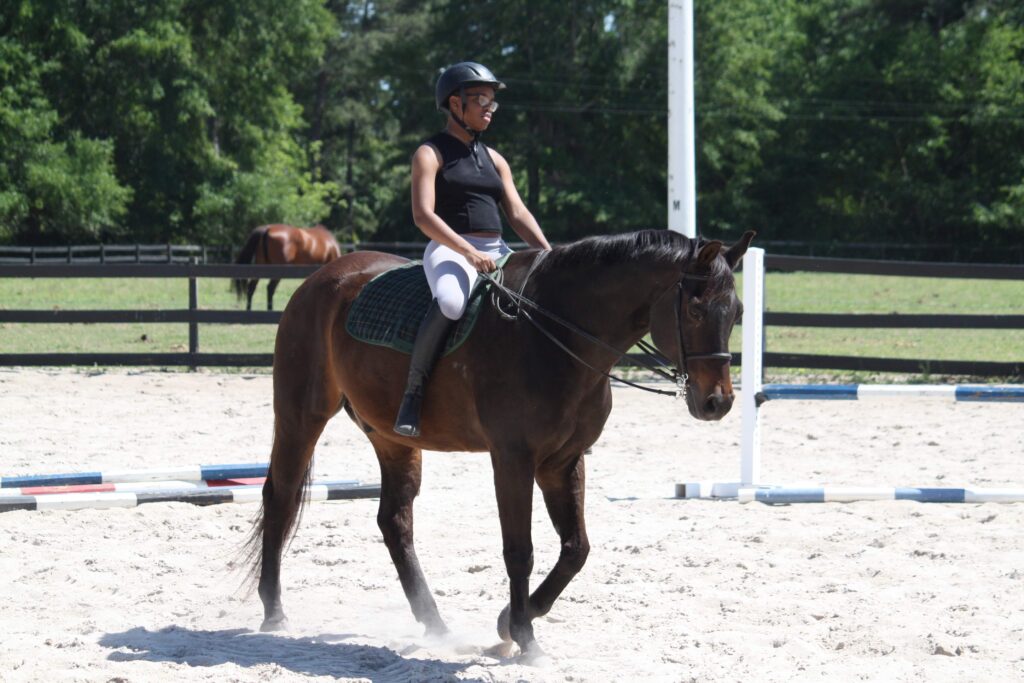
English riders use direct reining to steer, which means they apply pressure on the horse’s mouth via the reins and bit. To perform a right-handed turn using direct reining, you pull back on the right rein towards your inside hip.
With neck reining, you use the opposite rein to ask for the turn.
Direct Rein – Defined
Using a direct rein means applying pressure to the horse’s mouth by pulling back on the rein.
So to turn right, you would pull straight back on the right rein, directing the horse to the right.
Neck Rein – Defined
Neck reining is a more subtle aid and involves lying the opposite rein against the horse’s neck and asking him to turn away from pressure rather than into it.
To turn right, you would move your rein hand to the right, putting the left rein on the left side of the horse’s neck. The horse would move to the right, away from the pressure on the left.
Open Rein – Defined
You use an open rein when you ask a horse to turn by applying pressure to the bit while moving the inside rein away from your horse’s neck. An open rein is helpful for training.
Instead of pulling straight back, you “open” at the elbow, moving your hand on a 90 degree arc out and back.
Indirect Rein – Defined
An indirect rein is the same as a neck rein and involves applying pressure to the horse’s neck rather than the bit.
Bit Basics
There are two main categories of horse bits: snaffle and curb. While snaffle bits are most commonly found in English disciplines, and curb bits are associated with Western disciplines, there is certainly crossover.
Curb bits are common in higher-level
Many bits can be used for both direct reining and neck reining. Some people start neck reining training using a simple snaffle.
The only trouble with this is that you need to hold your hands a little higher when neck reining, which can cause increased pressure on the horse’s mouth.
Traditionally, Western riders have opted for curbed or shanked bits for neck reining as the long shanks increase the pressure of the aid, making the horse more responsive to subtle aids.
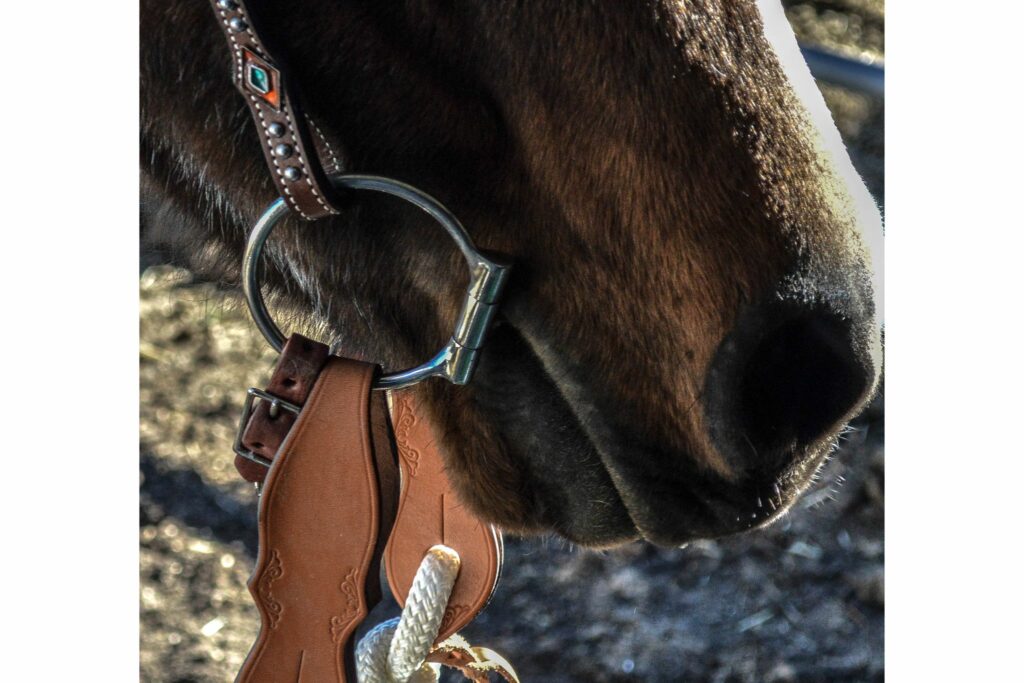
Snaffle Bit
Although snaffles are essentially direct pressure bits, they can be great for teaching your horse to neck rein.
Many Western riders switch to shanked (curb) bits once their horses are familiar with neck reining.
source: canva
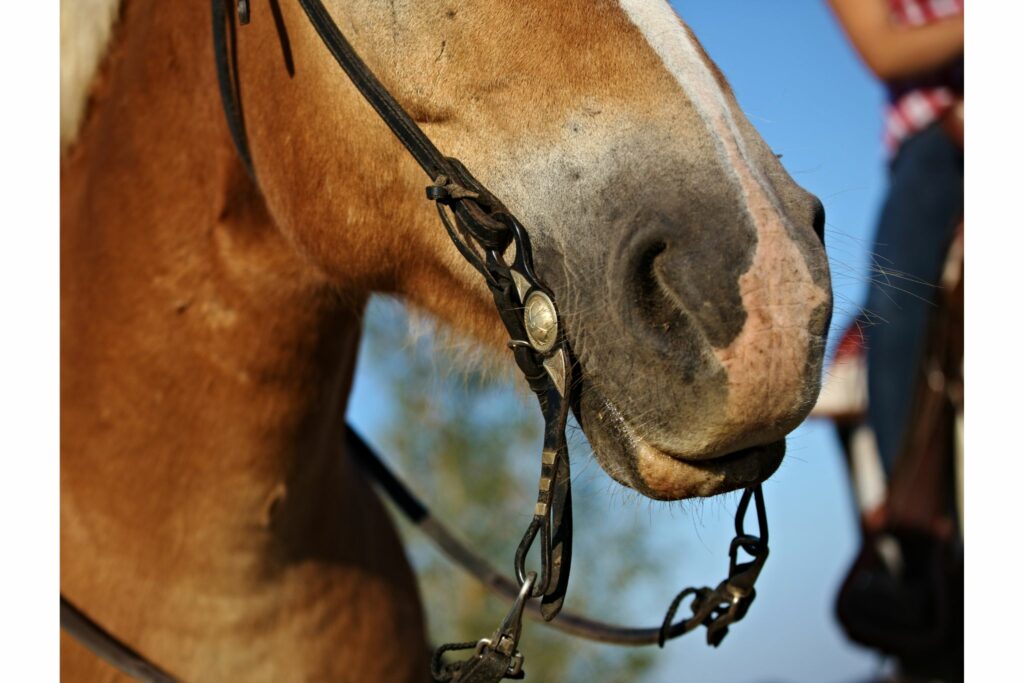
Curb Bit
A curbed bit is designed for neck reining and amplifies the pressure the rider applies to rein more than a snaffle bit. It may be a little too harsh to use when training a horse to neck rein but is often used by more advanced riders and their horses.
In Western disciplines, a horse is usually introduced to a curb bit later in its training. Experienced riders with steady hands can maintain control with a curb bit using incredibly subtle cues.
For example, in Horsemanship classes, riders are encouraged to limit all movement of the rein-hand to within a 6” imaginary box.
source: canva
Horse Training: Principles
Teaching a horse any new skill requires patience, repetition, consistency, and reward. If you’ve never trained a horse before, you might want to get a professional to guide you.
We highly recommend investing in the basics for a strong foundation for both you and your horse. It’s easier to get something right the first time than to have to correct a bad habit later.
Repetition
Repetition helps us and our horses master new skills, but too much can cause boredom and frustration.
When you first start neck reining, your horse won’t understand the aid, so you need to reinforce it with other aids that he’s already familiar with, including your legs and seat.
Practice turning your shoulders in the direction you want to turn and using your outside leg to guide the horse in that direction.
You can do this while still using direct reining. Once your horse is responding correctly to those cues, you can introduce the neck reining aids.
Repeat these steps a handful of times before rewarding your horse by taking the pressure off and allowing him to walk on a loose rein.
Consistency
Every time you introduce your horse to a new skill, be consistent in your commands. If you ask him to turn by applying pressure with your outside leg, be sure to repeat that signal every time until he’s so sensitive to the neck rein pressure that it’s no longer necessary.
You can incorporate neck reining training into trail rides as well as schooling sessions as long as your cues or aids remain consistent in all situations.
This will help keep your horse mentally engaged and teach him to listen out for those aids regardless of location or circumstance.
Reward
Rewarding your horse is an essential part of any training, and there are many ways to do it.
If your horse makes even the slightest movement in the right direction when you start your neck reining training, reward him by releasing the pressure on the reins and giving him some verbal praise.
If he completes a right-handed turn in response to your neck-reining aids, pat him on the neck to reward his good behavior.
Keep your rewards consistent and appropriate. If your horse is trying but not quite succeeding, releasing the pressure and giving him a moment to relax is reward enough. If he exceeds your expectations, you may choose to end the training session and give him a post-ride treat!
Check out this article for our list of the best horse training treats.
Teaching your Horse to Neck Rein
I taught my horse to neck rein almost by accident. She’s very responsive to my aids, and I found I could turn her simply by turning my head and applying pressure with the outside leg.
Not all horses are as receptive, which means training them to neck rein may take a little longer and require more effort from you.
You might find it easier with heavier reins, like those used in Western disciplines, as this amplifies the pressure you apply to the horse’s neck.
Before you even think about training a horse to neck rein, he should already be able to walk on a loose rein and respond correctly to direct reining aids.
Steps to Neck Reining Successfully
- Step One: While using direct reining, turn your shoulders in the direction you want to turn and apply pressure with your outside leg. Repeat this step several times, reducing the pressure on the inside rein a little each time.
- Step Two: Repeat the exercise above but use indirect reining at the same time as direct. As you apply pressure on the bit with the inside hand, lay the outside rein against the horse’s neck, so he gets used to the feeling and starts to understand the meaning of the aid.
- Step Three: Repeat the same exercise several times, changing direction each time. As you perform the exercise, reduce the pressure on the direct rein while using your legs and body position to reinforce your intent.
- Step Four: As your horse becomes more responsive to the pressure of the rein on his neck, you can gradually phase out your direct reining. When you do this, be consistent with your leg and seat aids. This will reinforce your indirect reining aids and help your horse to understand what you want from him.
Common Mistakes
One of the most common mistakes people make when teaching a horse to neck rein is rushing the process. Be patient and keep your expectations in check. Focus on reinforcing the indirect reining with other aids that make it easier for your horse to understand.
Your horse won’t master neck reining in one riding session—it can take months, even years to successfully master this skill.
Another common mistake made by those new to neck reining is moving your hand so far that it starts to apply direct pressure on the bit, encouraging your horse to turn in the opposite direction to the one you intended.
Remember, neck reining is a subtle movement that involves lying the rein against the horse’s neck rather than tugging on his mouth.
Those new to neck reining should also keep an eye on their hand position. It can be tempting to hold the reins in a fist with your knuckles on top, but this will only make it more difficult for the horse. Holding your reins this way puts uneven pressure on the reins, making it challenging for your horse to work in a straight line.
Just as with direct reining, when neck reining your thumb should be on top, with the reins held gently in your fist, as if you were holding a baby bird.
If your horse isn’t responding to your cues, you can “cheat” by going back to two-handed riding and applying a little direct rein pressure to reinforce your neck rein cue. This should be a last resort!
The supplemental direct rein aid can help ensure your horse fully comprehends the new cue.
Body position
Your body position can make or break your attempts at neck reining. To do it correctly, you need to be balanced and centered.
Before you ask your horse to turn, first look in the direction you want to go and then open your shoulders up in the same direction. These movements can be subtle. Don’t forget that your head makes up around 8% of your total body weight, so when it moves, your horse will be aware of it.
When the turn is complete, return to a neutral, centered position and focus straight between your horse’s ears. Keep your core engaged so you don’t drift to the side, and try to center your weight by balancing on the tripod created by your seat bones and pelvis.
More Leg
A horse that’s familiar with neck reining requires hardly any leg to reinforce the command. At the beginning, however, your leg is going to be one of the most useful aids you have.
The pressure of the rein against your horse’s neck is only slight, and there’s no way of increasing it other than by using heavier reins and a curbed bit. You can, however, increase your leg pressure incrementally until your horse responds correctly.
Rather than trying to increase the pressure of the neck rein, use your legs and seat to signal your intentions and reinforce the indirect rein aid.
Frequently Asked Questions
Q: How long does it take to teach a horse to neck rein?
Every horse is different, and some may take to neck reining like ducks take to water. Others may be less sensitive to it or so fixated on direct rein pressure that they struggle to adapt.
Be patient with your horse, and if you’re having trouble, get a professional trainer to give you some tips.
Q: Is it hard to teach a horse to neck rein?
Neck reining isn’t a particularly complex skill and one that’s safe for you to teach yourself even if you’re not an advanced rider. Nevertheless, teaching a horse any new skill requires both patience and consistency.
Q: What is the best bit for neck reining?
For horses and riders new to neck reining, a snaffle or mild curb bit, like a Tom Thumb, is ideal. These are both more mild bits that still offer effective control.
As you and your horse become more familiar with the art of neck reining, you might want to switch to a more advanced curbed bit that amplifies the rein pressure for subtle cues.
Q: How do you teach a horse to neck rope?
A horse that’s trained to neck rein can quite easily adapt to being ridden in a simple neck rope or strap. The pressure from the strap reinforces the aids you’re giving with your seat and legs, enabling you to turn and even stop your horse without using a bit at all.
Only attempt riding with a neck rope if you’re confident your horse will walk, trot, and canter at controlled speeds and respond to alternative stopping cues.
Parting Thoughts
Neck reining is more commonly used in Western disciplines, but can also be incorporated into English riding. It enables you to ride with a lighter touch, making the experience more comfortable for your horse. It also means you can open gates, cut brush, and even handle a lariat while still controlling your horse’s direction.
You can still use direct reining even after your horse is trained to neck rein, and should be able to swap between the two without causing your horse any confusion or discomfort.
Neck reining is fairly simple, so it’s something fun that you can teach your horse even if you’re relatively new to riding. As with any new skill, however, it will take time, repetition, and consistency to teach your horse to neck rein. If you get frustrated or feel like you’ve hit a brick wall, ask around for help.
The problems caused by ineffectual training can be expensive and time-consuming to fix, so it’s better to nip it in the bud and get help before things get out of hand.
Once you and your horse have mastered the art of neck reining, you’ll never look back. It gives you the freedom to multitask on horseback and takes the pressure out of steering – something your horse will inevitably be grateful for.
P.S. Enjoy this article? Trot on over to:
- 3 Best Horse Breeds for Reining in the Ribbons
- How to Train a Horse (Helpful Techniques & Timing)
- A Beginner’s Guide to Reining
- 5 Best Horse Bits for
Trail Riding Success - Best Bits for Quarter Horses
- Western
Dressage vs. CowboyDressage : Same Same? - Rookie Rundown: What to Wear to a Western Show
- Chaps vs Chinks: What’s the Difference?
- 6 Essential Supplies for Multidisciplinary Riders

